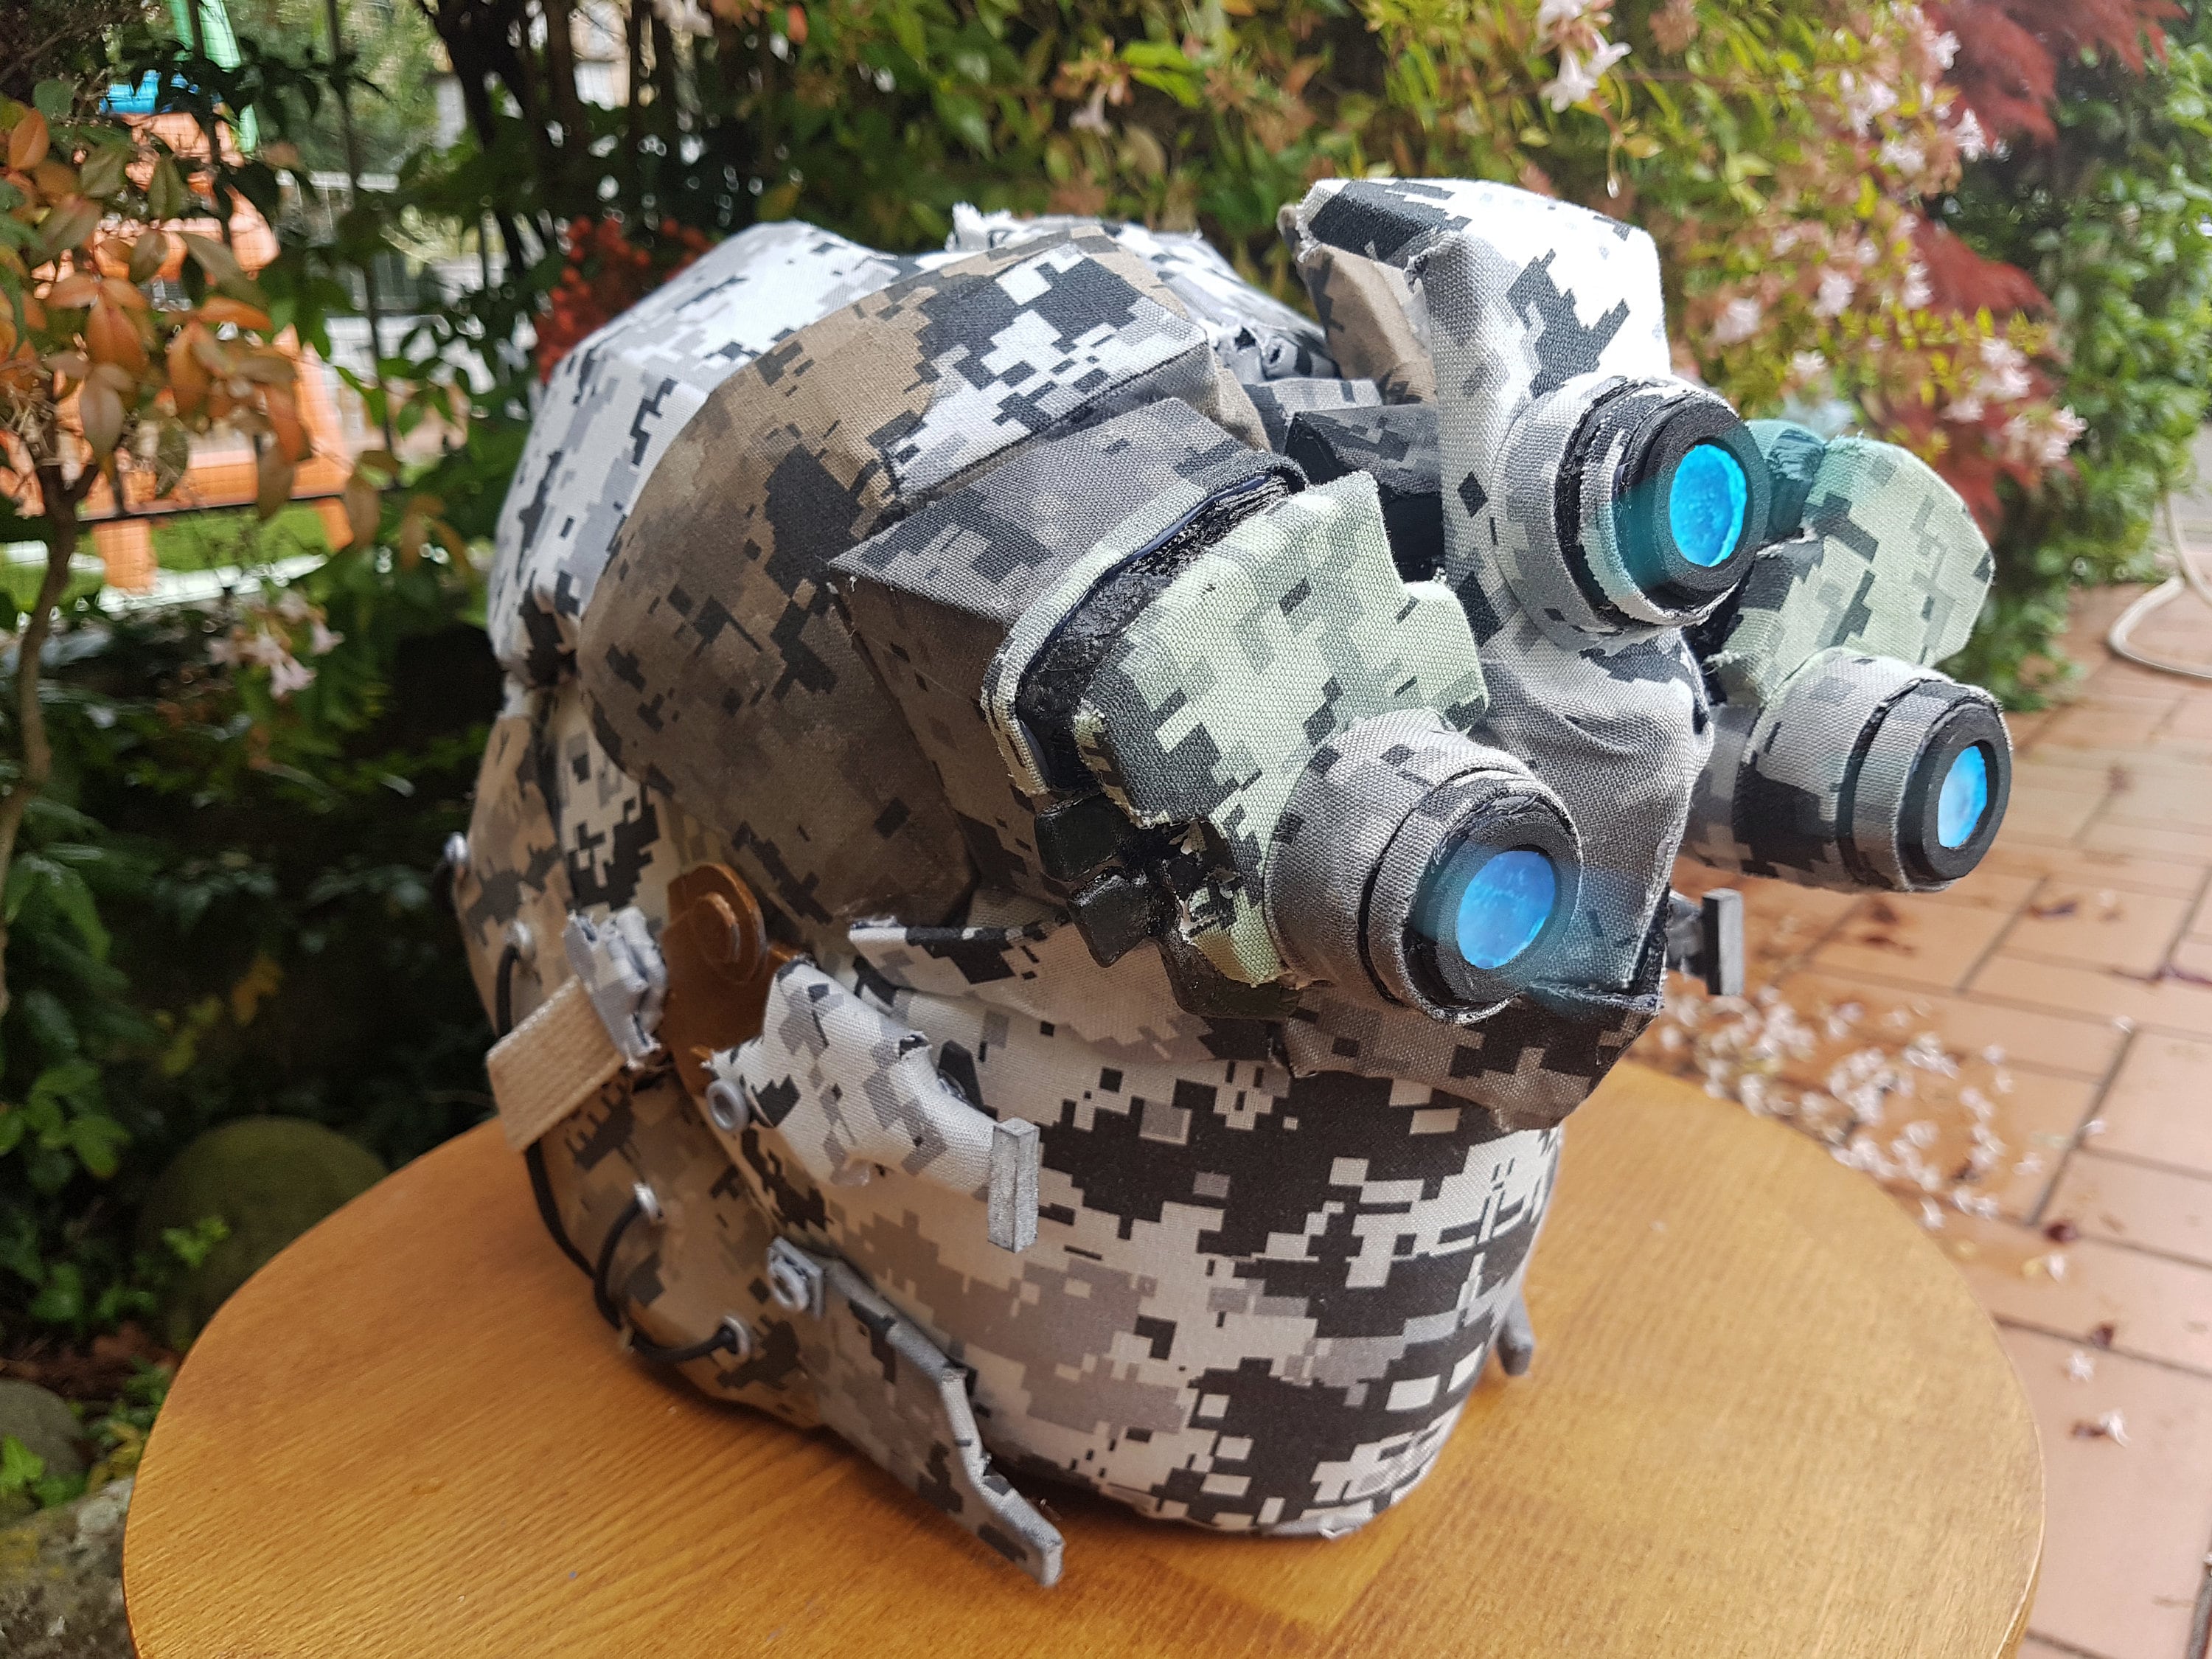

The circles should cover over the Side panel “V" cut seams. Pull both side straps around to meet at the center back seam of the helmet. Trace around trim and attach 3" at a time. Attach the full circle around the face hole lining up the inside edge of the trim flush with the face hole opening. Attach the Side Trim in the same manner as the Base Trim.The ends of the trim should line up at the center back seam. Attach the first 3" section with Contact Cement. These markings locate areas to apply glue. Mark 3" from the center seam on the helmet and 3" from the center mark on the inside of the Base Trim. Use a pencil or a toothpick to mark the location of the trim onto the helmet. The bottom edge of the Base Trim should lie flush with the bottom edge of the helmet. Line up the center mark with the center front seam, chin strap, of the helmet. Find and mark the center of the Base Trim. Apply Contact Cement to the vertical chin strap edges of Side pieces.Attach one Center to Side starting at the front and lining up the registration marks.


Cut pattern for Side and Center, two reverse of each pattern from 10mm EVA foam sheet. FX, Flexible Acrylic Paint, 3 oz, Armour Metallic, Silver, 1.Paint: Folk Art, Multi-Surface Satin Acrylic, 2 oz, White, 1 for adult.Contact Cement with brush applicator, 3 oz., 1.Optional: Band Saw with fine tooth blade.


 0 kommentar(er)
